Showing posts with label Meats and Main Course. Show all posts

Friday, January 21, 2022

Inside Out Stuffed Pepper Casserole


Another recipe from my pantry. Another recipe from mainly homegrown ingredients from my garden. At a time when the snow is deep, the roads are icy and the shelves of our locals stores are starting to look pretty bare. My family loves stuffed peppers. This casserole is simply all those ingredients added to one simple single dish without all that stuffing. Inexpensive, easy and a great crowd pleaser for my hungry bunch. A great leftover casserole for fix ahead meals too. 

I freeze peppers every year in vacuum bags for this recipe. I also have used both frozen or dehydrated homegrown onions in this recipe. Also I always use home preserved tomato sauce or pasta sauce. 

Inside Out Stuffed Pepper Casserole

2 cups beef or chicken broth
1 cup raw rice
1 pound ground beef
1 medium onion chopped
2 medium bell peppers (seeded and chopped)
1 quart jar (4 cups) home canned tomato sauce or spaghetti sauce
1 cup shredded cheddar cheese
optional: garlic and basil 

1. preheat oven to 350.

2. Boil broth and pour over rice in a greased 9 X 13 pan.

3. Brown meat with peppers and onions.

4. Pour meat mixture and tomato sauce over rice and broth mixture in pan. 

5. Cover with foil and bake at 350 for 45 minutes to 1 hour or until rice is cooked. 

6. Remove foil and add cheese to top and return to oven until cheese is melted. 


Great served with a side salad and some crusty garlic bread.


I made 4 meals with my leftovers with  homegrown and canned green beans side for lunches. 

Homegrown green beans, homegrown and canned tomato sauce, frozen homegrown peppers and onions. Shelf stable rice and you could use home canned ground beef also. 

Blessings from The Holler

The Canned Quilter
**************************************
I can also be found at 

Saturday, July 20, 2013

Roasted New Potatoes, Peppers, Onions And Sausage


 I post quite a few recipes on this blog. Not because I am a gourmet cook by any means but more to show you simple everyday food prepared by what is coming out of my garden or pantry at that time and how to prepare it. Right now  I have lots of new potatoes, onions, broccoli, squash and cucumbers. I take some of my new potatoes and put them in jars to enjoy through the winter. And there is nothing like a pot of fresh green beans and new potatoes or creamed peas, onions and new potatoes. But the other day we ate over at my oldest daughter Fred's house and she served roasted new potatoes, onions, pepper and sausage. All roasted in the oven. It was delicious so I decided to try it myself.   


First I cooked a couple pieces of sausage until pretty well done and let it cool and then cut it into bite size pieces. 


Then cut up about a dozen new potatoes into about 1 inch cubes. Peeling and all.


Then I also cut up a bell pepper and onion into about the same size pieces as my potatoes.


Now take boiling water and cover the potatoes only and let sit for about 20 minutes. It starts to cook the potatoes. 

Preheat your oven to 400 degrees. 

Then take the potatoes after 20 minutes and drain them and dry them well with a clean kitchen towel. 

Now put the potatoes alone back in the dry bowl and add about 2 tablespoons olive oil and toss to coat well. 


Then I placed these potatoes on parchment paper in the hot oven and baked for about 25 minutes.  Then take the trays out and flip the potatoes to the other side and bake for another 20 minutes.  Now I had one tray on the top shelf and one on the bottom and then rotated them about half way through.


After the potatoes start to show some color then I added the onions and peppers also tossed in olive oil and let them cook for about another 20 minutes.  Then add your sliced sausage and mix them all up good to get the sausage flavor on the other vegetables and return the mixture to the oven to finish off. Remember the sausage is already cooked so basically you are just warming it through. Basically you want the potatoes cooked through with just a little browning and the onions and peppers roasted soft with maybe a little color.Once out of the oven I tossed with a little sea salt, fresh cracked black pepper and a dusting of Mrs Dash Garlic and Herb seasoning.


Served with a salad this is a great meat and potatoes meal for my husband and the hardest part is probably all the chopping.

Just another idea for those new potatoes.

Blessings from The Holler

The Canned Quilter

Wednesday, July 17, 2013

Double Batching


O Wise One loves tuna casserole. You know that 1950's tuna casserole with mushroom soup, egg noodles, green peas and a crunchy topping. 


Since I had found a bargain on tuna the other day I made him one and one for the freezer. Should come in handy on a future canning day!


Now that our family is down to just the three of us many of those casseroles that make a portion to fit a 9 X 13 baking dish become 2 smaller casseroles. One for dinner and one for the freezer. Once Baby O leaves home those recipes will more than likely become 3 smaller casseroles.


Taken from the freezer and allowed to thaw  and the addition of cheese and some crunchy onion rings on top this becomes a hot from the oven meal on a busy day or in a pinch. I have even substituted canned rabbit meat, chicken or turkey for the tuna and it still tastes great.

You can find my go to tuna casserole recipe HERE


Blessings from The Holler

The Canned Quilter


Friday, March 15, 2013

Grits For Supper


My family loves breakfast food and there are times when things get rushed around the homestead and homemade/homegrown breakfast foods make a healthier alternative to fast food. This is my husbands favorite way to eat grits and his holiday morning favorite breakfast. Every so often I make it for supper as a treat. He will eat slices of this straight out of the fridge cold!! Leftovers of this casserole never go to waste and warm in the microwave beautifully.

Cheesy Sausage Grits Casserole

4 cups water
1 tsp salt
1 cup quick cooking grits
4 eggs lightly beaten
1 pound pork sausage browned and drained
1 1/2 cups shredded cheddar cheese divided
1/2 cup milk
1/4 cup butter or margarine softened


In a saucepan bring water and salt to boil. Slowly stir in grits. Reduce heat and cook until done.  Remove grits from heat and add a teaspoon of hot grits at a time to beaten eggs while beating eggs to temper or slowly heat the eggs. Return eggs to grits pot and stir well.
  

While grits are cooking I browned my sausage


Add milk, butter and 1 cup of cheese and sausage to grits pot and stir well. Then add sausage and stir until combined. Pour into a buttered 13 X 9 baking dish. Sprinkle 1/2 cup remaining cheese over the top.    


Bake uncovered in preheated 350 degree oven for 50 to 55 minutes or until top begins to brown. Remove and allow to cool for a few minutes. As it cools it thickens. 


Serve warm with a skillet of flaky hot buttermilk biscuits, strawberry rhubarb jam  and a mug of hot coffee.


Blessings from The Holler

The Canned Quilter

Friday, March 1, 2013

Using Dehydrated Potatoes


Some of the most popular posts that I have published through the years have been on dehydrating potatoes. Yes I do can some in jars also. I like to can my new potatoes and any damaged potatoes that are hit by the spade or chewed on by the mice or voles get dehydrated. Whether it be hash brown or potato slices the most asked question is how to use them. I wanted to publish a post on rehydrating hash browns.  Dehydrating potatoes is one of the easiest ways in my opinion to store potatoes and requires the least amount of storage space.  I put mine in quart jars and add oxygen absorbers to seal the jars. Mine keep for years in my pantry this way. 


Today I am going to make a hash brown casserole with ham and cheese. First I put a pot of water on the stove. Just plain water and bring it almost to a boil but not quite.


I want enough hash brown to fill a 9 X 13 casserole or the equivalent of a large bag of commercial frozen hash browns. That takes for me about 1/2 a quart jar of loosely packed dried potatoes.  Pour the potatoes in the hot water.


I also added a hand full of dehydrated green onions to the water. 


Then I turned the fire off and covered the pot. 


25 minutes later my potatoes again look like hash brown potatoes with green onions in them


Remember those muslin dish towels I made last week. Drop a clean one in a colander and pour your potatoes and onions in the towel and let the water drain out of the potatoes. 


Now gather that dish towel and squeeze the remaining water out of the potatoes.


And there you have it a half pot of hash brown potatoes ready for your casserole or to make hash brown patties : ) 


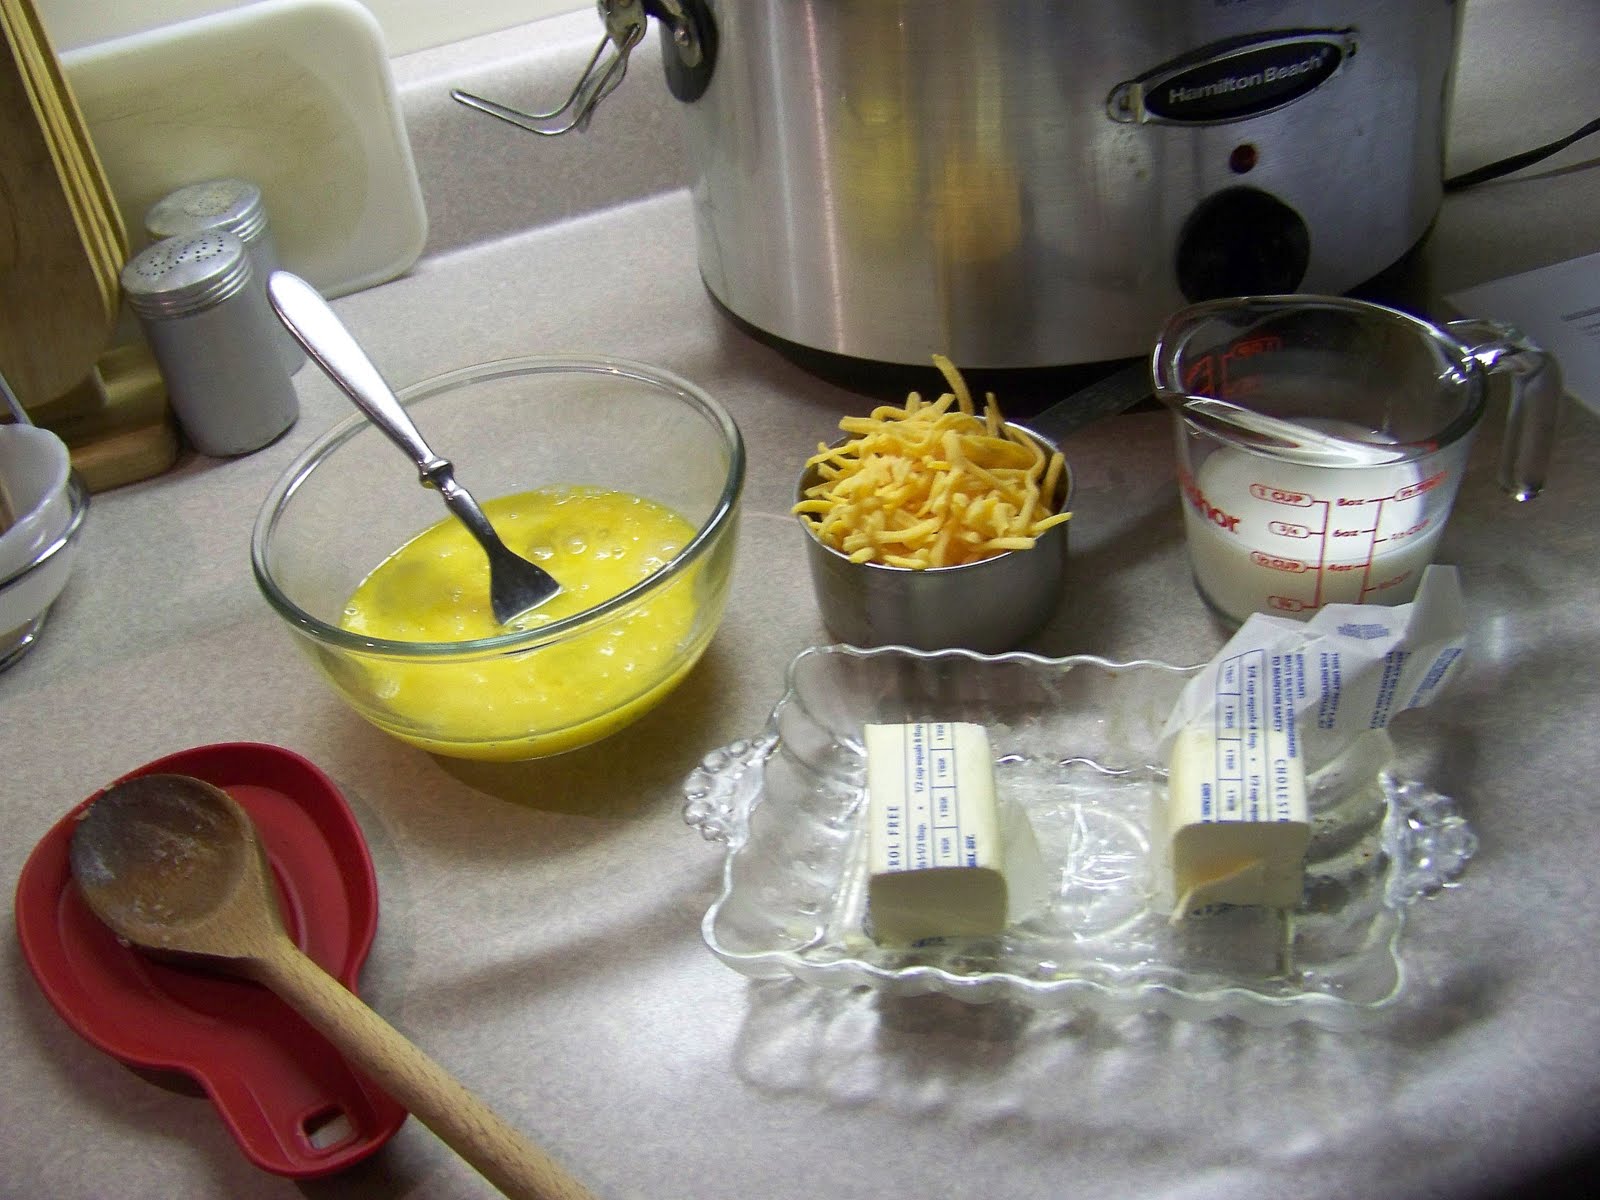
Normally my casserole would call for 2 cans of mushroom soup. I make my own by substituting a white sauce. I like to use 1/4 cup butter to 1/4 cup flour and a cup of milk to substitute for a can of cream soup. So for this recipe I will melt 1/2 cup butter in a small sauce pan.


Then add 1/2 cup flour and stir for a couple minutes to let it cook a little.


Now I am going to add 2 cups milk and stir constantly to let it simmer and thicken.


Once it reaches a thick consistency I will turn off the stove and let it cool. Remember as it cools it continues to thicken. I could add mushrooms or celery to this for mushroom or celery soup. 


Now I add about 2 tablespoons of butter to a black skillet and let it melt. 


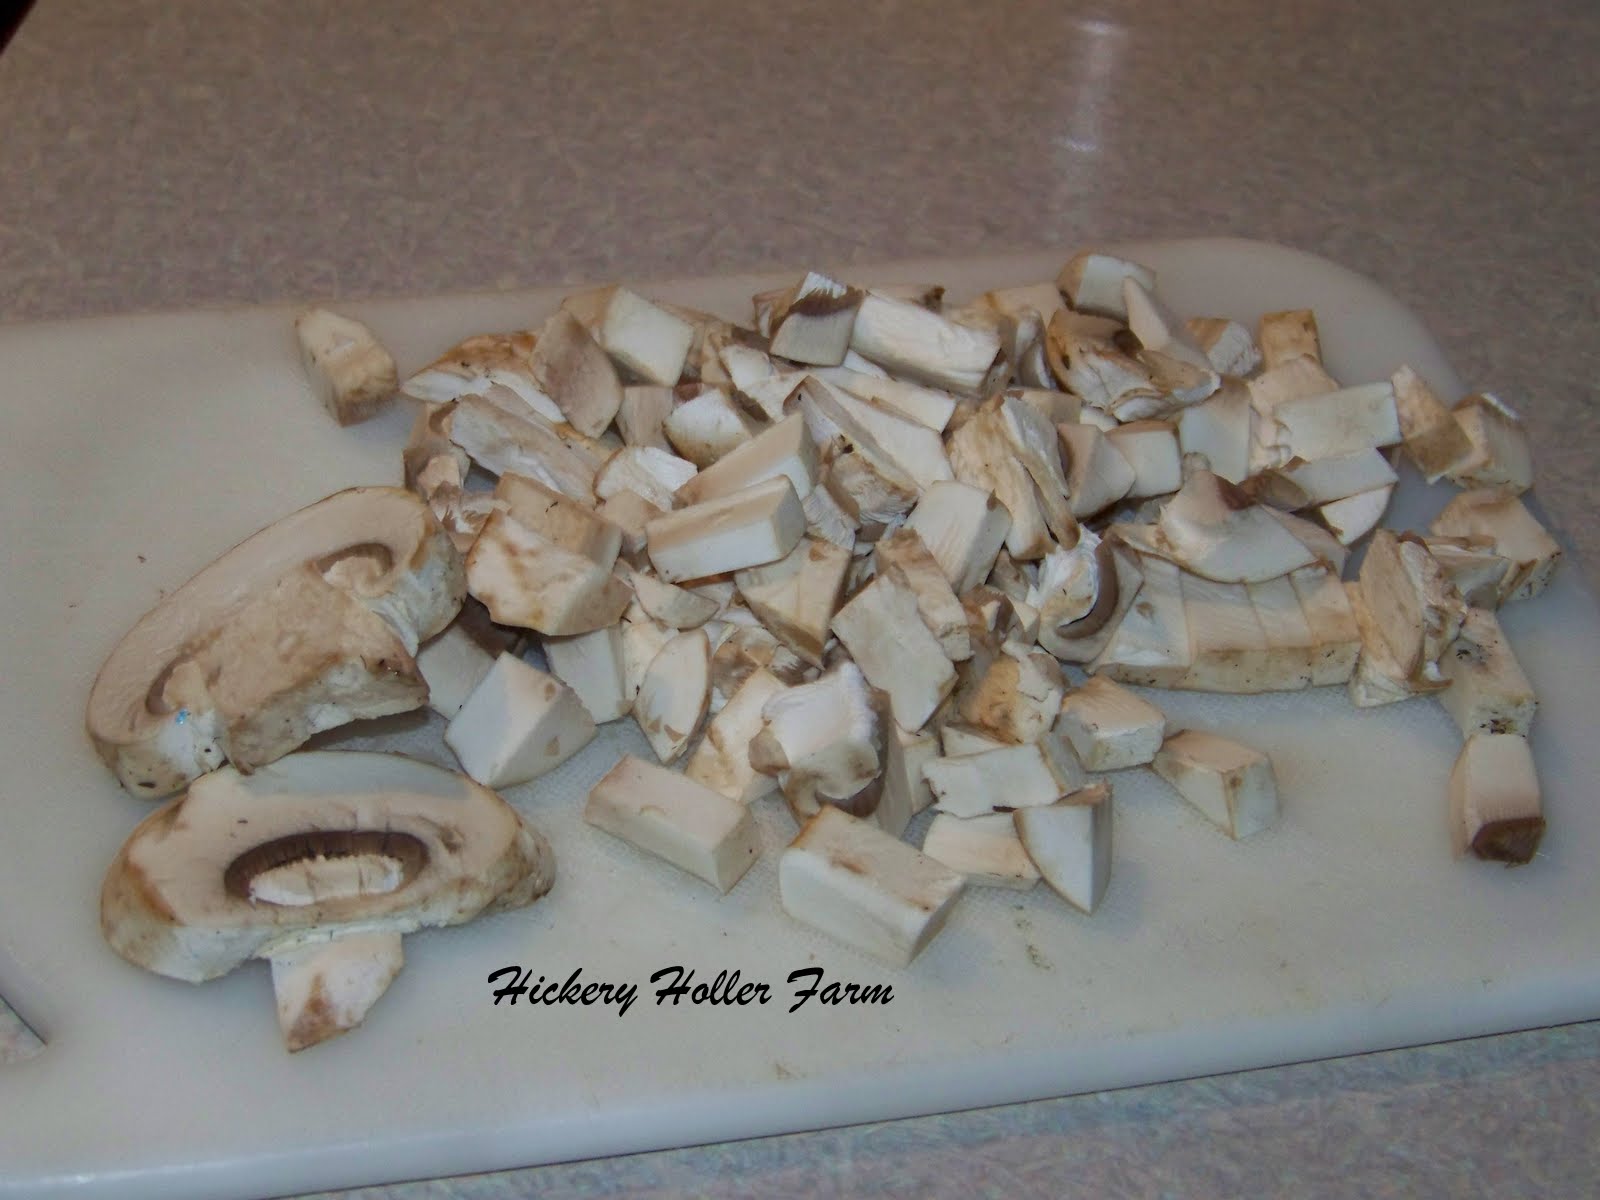
Then I add a hand full of chopped mushrooms to the skillet


And a cup or so of frozen onions to the skillet


And 2 cups of smoked ham chunks to the skillet and saute it all down in that butter.


Now to that pot of potatoes and onions we are going to add a block of softened cream cheese.


Now we are going to add the white sauce that has cooled to the pot of potatoes, throw in 2 cups of shredded cheese of your choice and a cup of sour cream. Now add those sauteed mushrooms, onions and ham to the pot and stir. Add salt and cracked pepper to taste.


Now pour the pot into a buttered 9 X 13 casserole. To the top you can add cheese or buttered corn flake or cracker crumbs. I just sprinkled shredded cheese over the top and covered mine and put it in the fridge until supper that night. . 


About an hour before dinner I butter my foil to keep the cheese from sticking and put it covered in a 350 oven to bake for 35 to 45 minutes or until hot and bubbly and the cheese has melted.


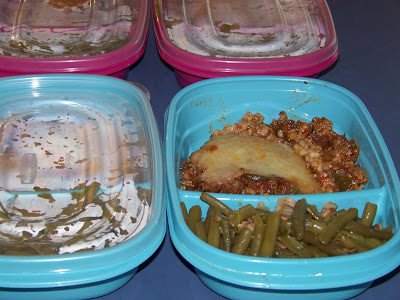
And there you go! Hot, bubbly and oozing with cheese, green onions, onions, mushrooms, ham and potatoes.  I served this with green beans and carrots on the side and a small salad. Comfort food homegrown and home canned. 


This is super heavy on the dairy and not for the faint of heart. You could lighten it up with light cream cheese and light sour cream or Greek yogurt.  


Blessings from The Holler


The Canned Quilter


Thursday, February 28, 2013

Corned Venison


O Wise One and I have been experimenting. We wanted to make some corned venison. With St. Patricks Day right around the corner and cabbage cheap everywhere you look we thought we would try our hand at making some corned venison to go along with our cabbage. 


You can find the recipe we used HERE


First we mixed our spices. A mixture of sugar, pepper, coriander seeds, bay leaves, red pepper, thyme, caraway seeds, cinnamon stick, cloves and garlic.


Then added it to our water and brought to a boil.


Then turned off the fire and lat it cool on the back of the stove. It smelled wonderful!


Pot completed and cooling...


Each venison roast weighed right at 3 1/2 pounds. 


We simply covered the roasts with the cool brine making sure that the liquid covered the meat. Then it went into the refrigerator for three days  to absorb all that flavor. We turned it everyday. How long you leave it in the brine depends on the size of the roast. 


After three days we took the meat out of the brine and rinsed it under tap water. First thing we noticed that was the meat felt much firmer second was that the roasts had shrunk considerably. 


The roasts then went into the crockpot and were covered with fresh clean water. They were then cooked on high for several hours. 


And the results were corned venison. 


The taste was wonderful! We are seeing corned venison and homemade sauerkraut, corned venison  and cabbage and corned venison hash in our future. Not to mention my favorite sandwich the Reuben. 


Couple things we would do differently next time. Because our roasts were small we only brined it 3 1/2 days. If you look in the picture you can see that the very middle of the meat is not pink but rather brown which means our seasoning did not absorb all the way to the center of the meat. Next time we will brine it for a longer amount of time.  

The other thing we would do differently is not cook it in the crockpot for quite so long. We dried it out a bit at the end. 

But all in all the experiment was a great success and with plenty of venison in the freezer to experiment with we will eventually get it right we want to also try smoking the corned roast to make pastrami one time.

Blessings from The Holler

The Canned Quilter


Related Posts with Thumbnails